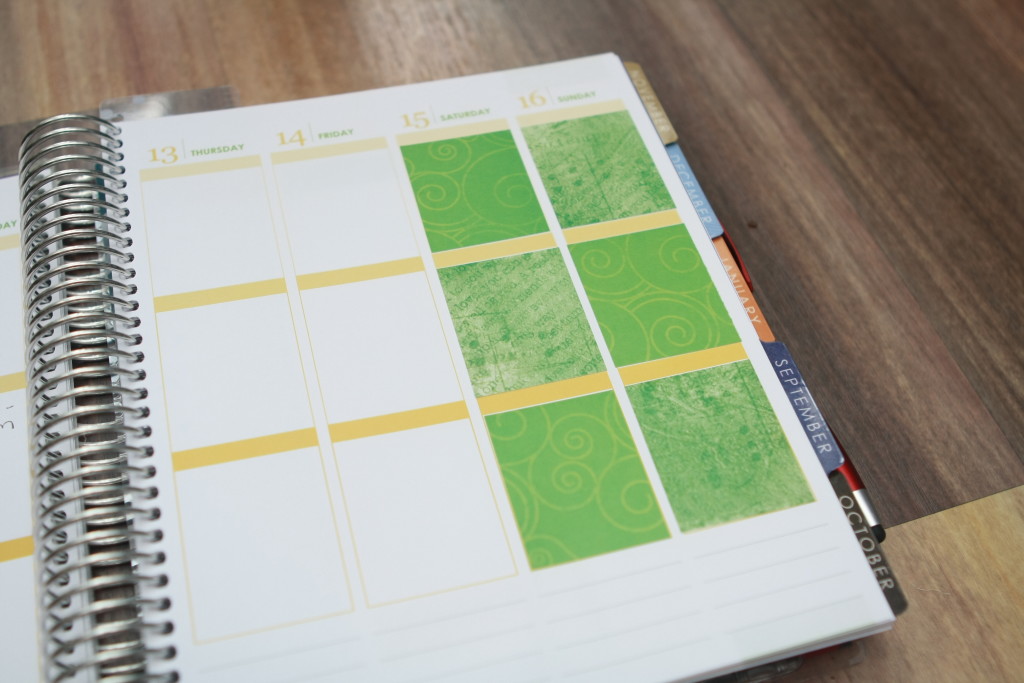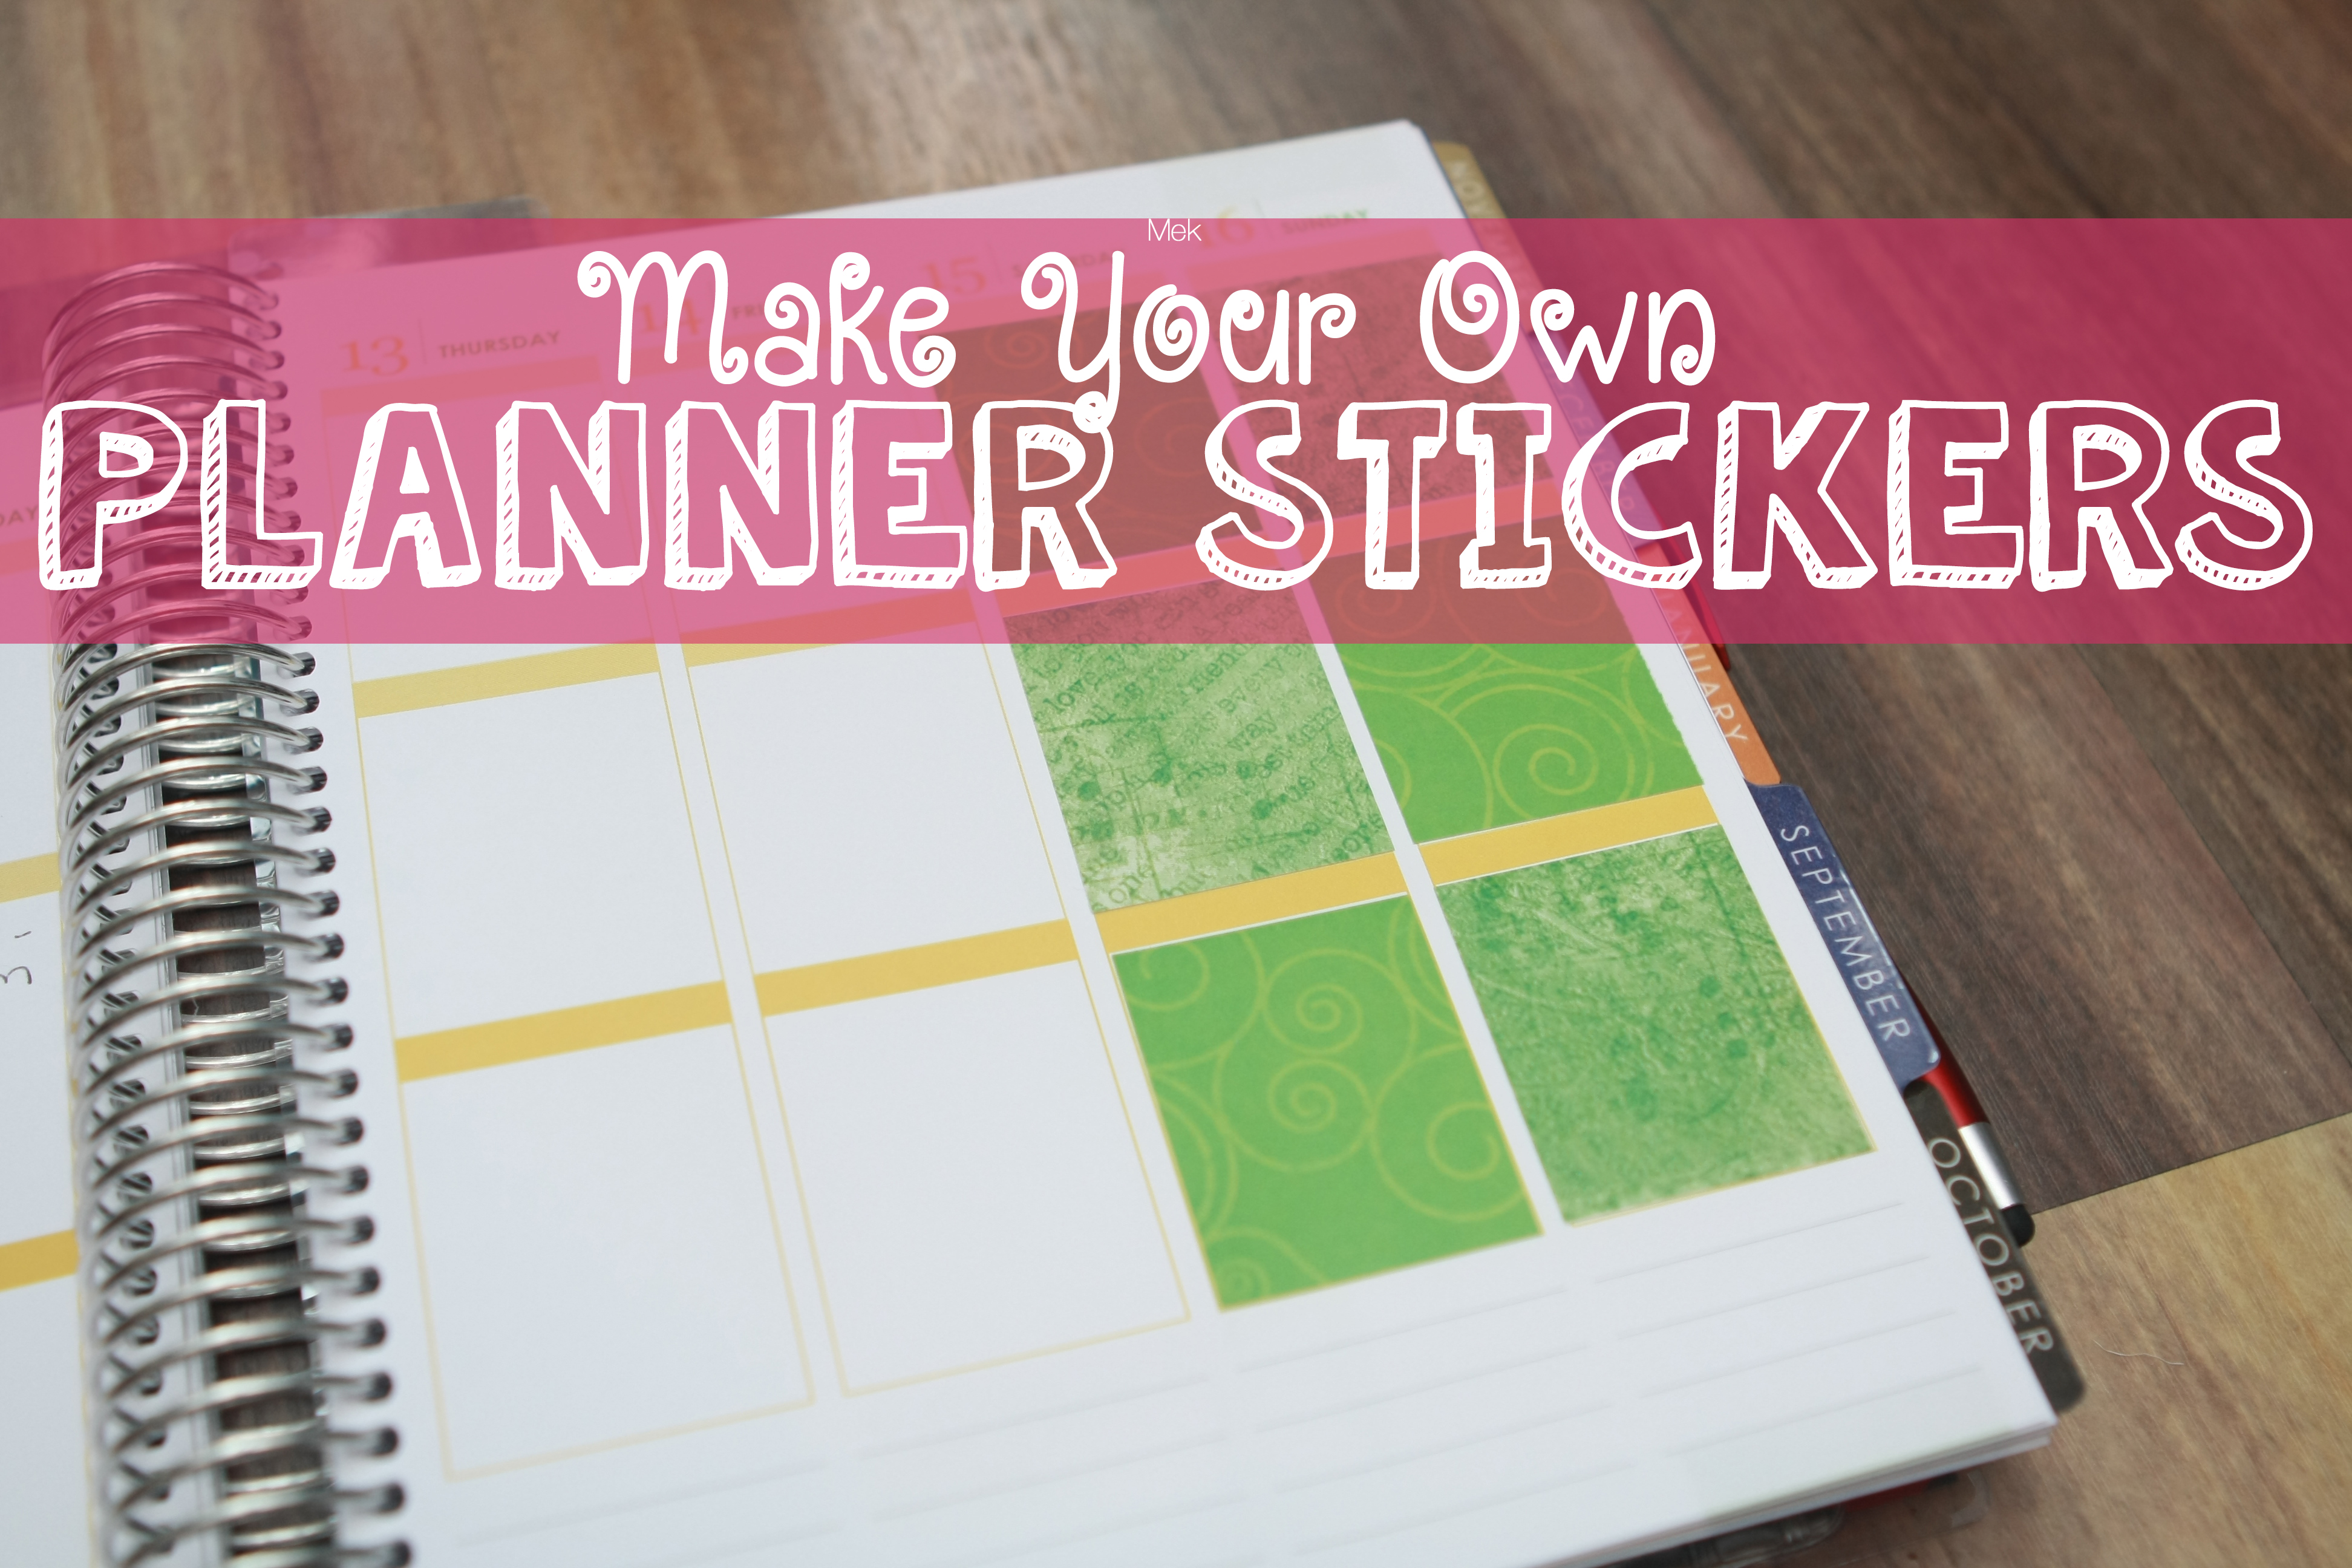
If you’ve been following along, you know I’ve been working on getting my Erin Condren Life Planner set up for when school starts. I ended up ordering the sticker book they sell, but found that I still wanted more stickers to decorate with. I googled around a bunch and realized there really isn’t a good way to order your own stickers without buying them in packs of 500. I did find some on Etsy that would work, but I kept thinking, “If all these other people can do it, why can’t I???” That’s when I came across this YouTube video for how one person decorated her planner and it contained one of these wonderful sticker makers.
Suddenly, I figured it out! I have millions of pounds of scrapbooking background paper sitting upstairs that I haven’t touched since my daughter was born and I know I could quickly put it to good use by running it through a sticker maker and cutting it to the right size to fit my planner. Not only that, I could have my students make their own stickers, use it to create name tags, labels for my classroom, and a million other things too! How did I not know these things existed!? Of course, I immediately went out and bought one.
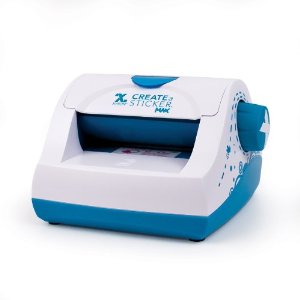 I ended up getting a slightly bigger version of the sticker maker in the YouTube video, a Xyron 5″ one instead of the 2.5″ one. They also make 9″ combination sticker or magnet maker too if you’re REALLY hard core! None of the machines need electricity or heat. You just stick the thing in you want to make into a sticker, turn the crank, and you’re done. I’d venture to say it’s just as easy as the laminator I use.
Back to the planner goodies. Here’s what I did to make my own custom stickers to fit my Erin Condren Life Planner!
– Make a template to fit each section of the planner. Fortunately for you, the most time-consuming part is already done 🙂 Just download and use what I made, here! It’s in Powerpoint format, and set up to fit vertical Erin Condren Life Planners, but you could easily resize for other planners and customize with your own fonts, images, and text size!
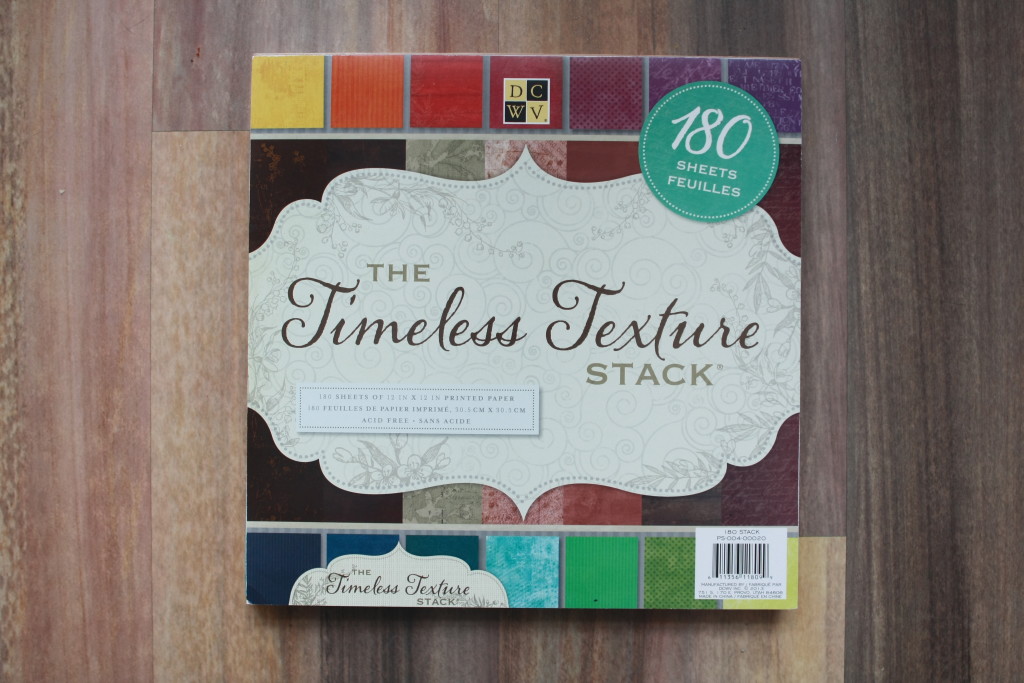
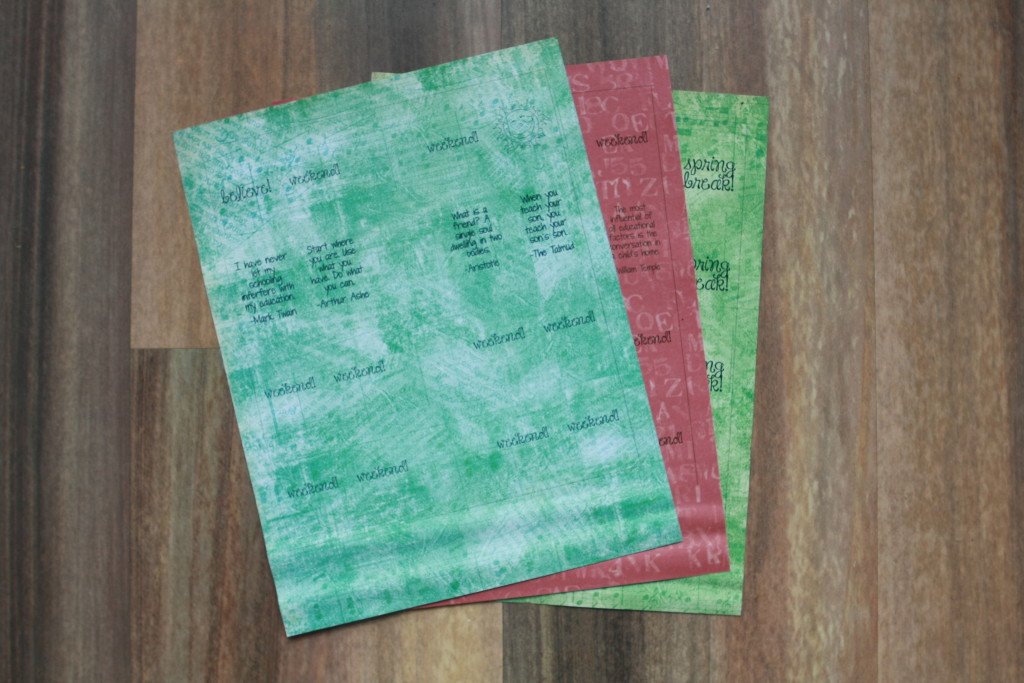
– Print the stickers onto colorful paper. I used a bunch of sheets from this pack because it seemed like most of the colors already matched the colors in the planner.
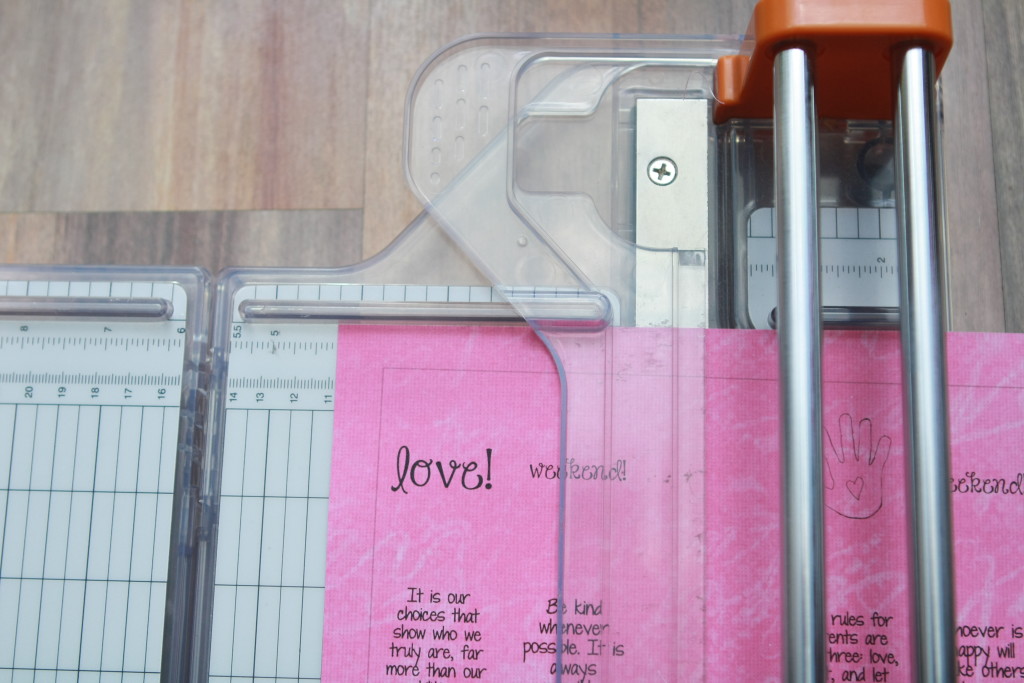
– Cut the stickers into strips to fit through your sticker maker. Since I have a 5″, I chose not to use the middle column of stickers on the template so that I could divide my 8.5″ x 11″ piece of paper into 2 strips that were 4.25″ x 11″ long to feed through.
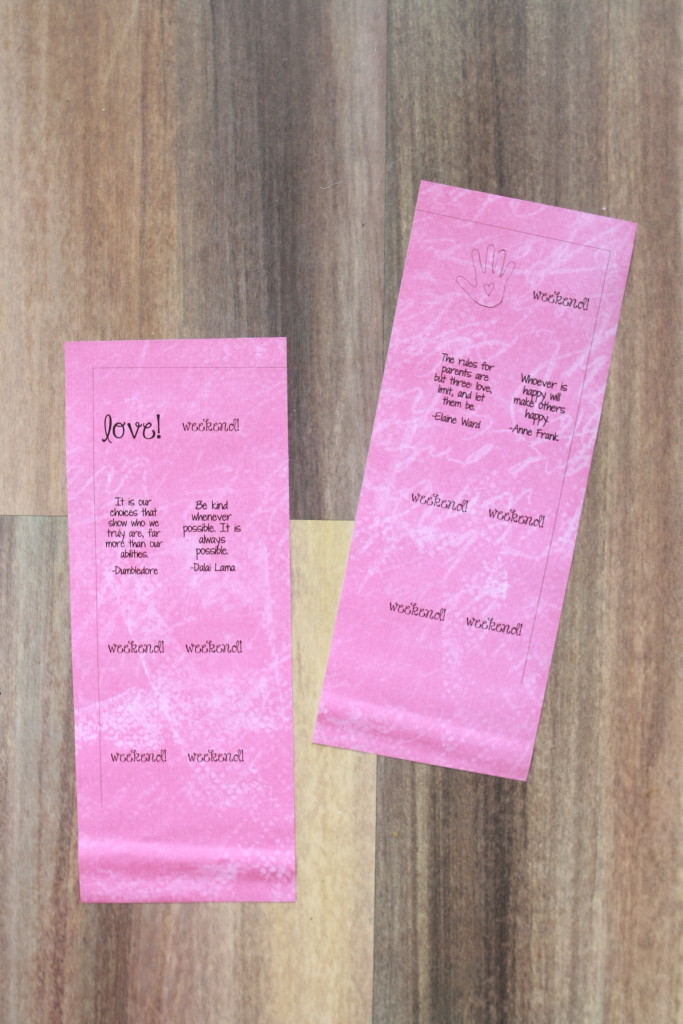
– Run through your sticker maker and cut apart with scissors or a paper cutter.
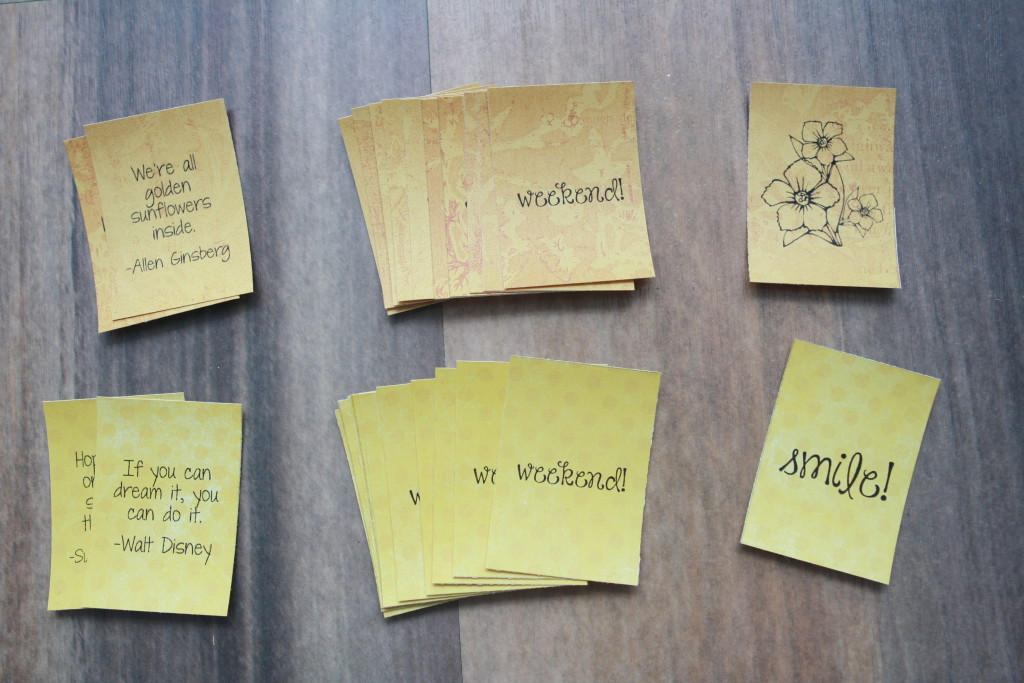
And you’re done! The template I made contains stickers for the weeks, months, headings, and notes sections, so you can easily make your own to fit any section of the planner!
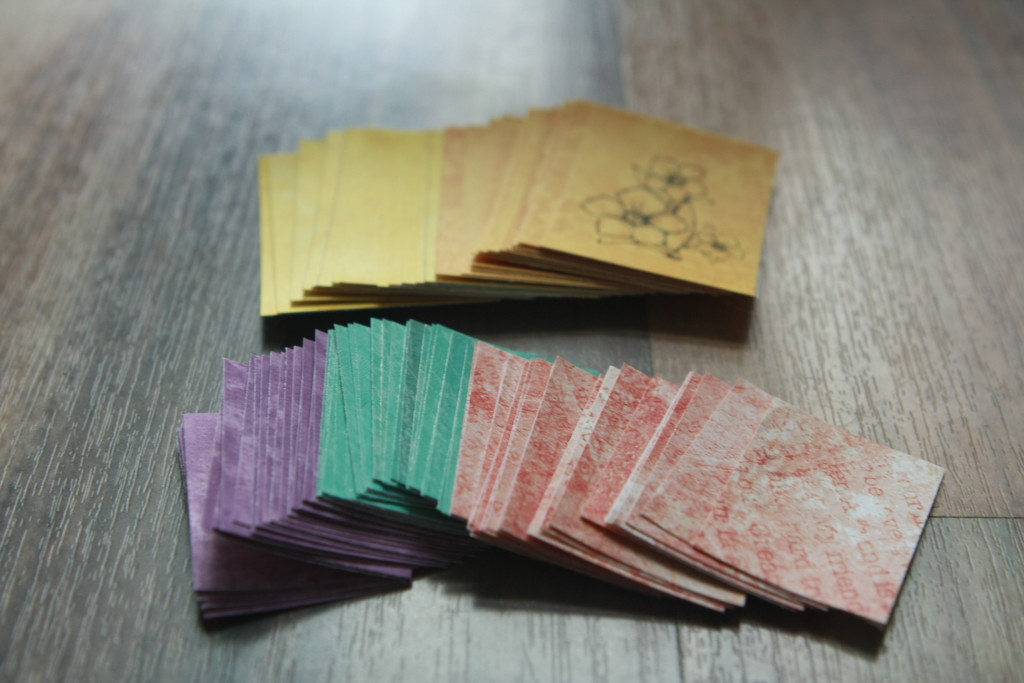
I’m definitely thinking of making a bunch of these for one of my friends for her birthday. Do you have any good classroom uses for a sticker maker!? I’m dying to try out some new things with it!


