
After my last post about the new 2015-2016 Erin Condren Life Planners, a few of you have been asking me to share how I use it for school social work/counseling purposes. This is for you!
On a side note, I’ve often thought about getting a Teacher Lesson Planner, but just felt there were a lot of pages I wouldn’t use so I just use my Special Ed Binder for planning instead. I’d love to hear your experiences with it if you’ve used the Teacher Lesson Planner.
Now, some of you are probably wondering, “It’s only June, why the heck is she already filling that thing out!?” Really, it’s a good questions. The easy answer is that I clearly have a problem. There’s no other reason! A special note before I go on, all names in the following pictures are fictitious and added in Photoshop. These are not my actual students, but this IS what my planner looks like when I use it!


Here’s my cover (with my family picture covered). I love this design!
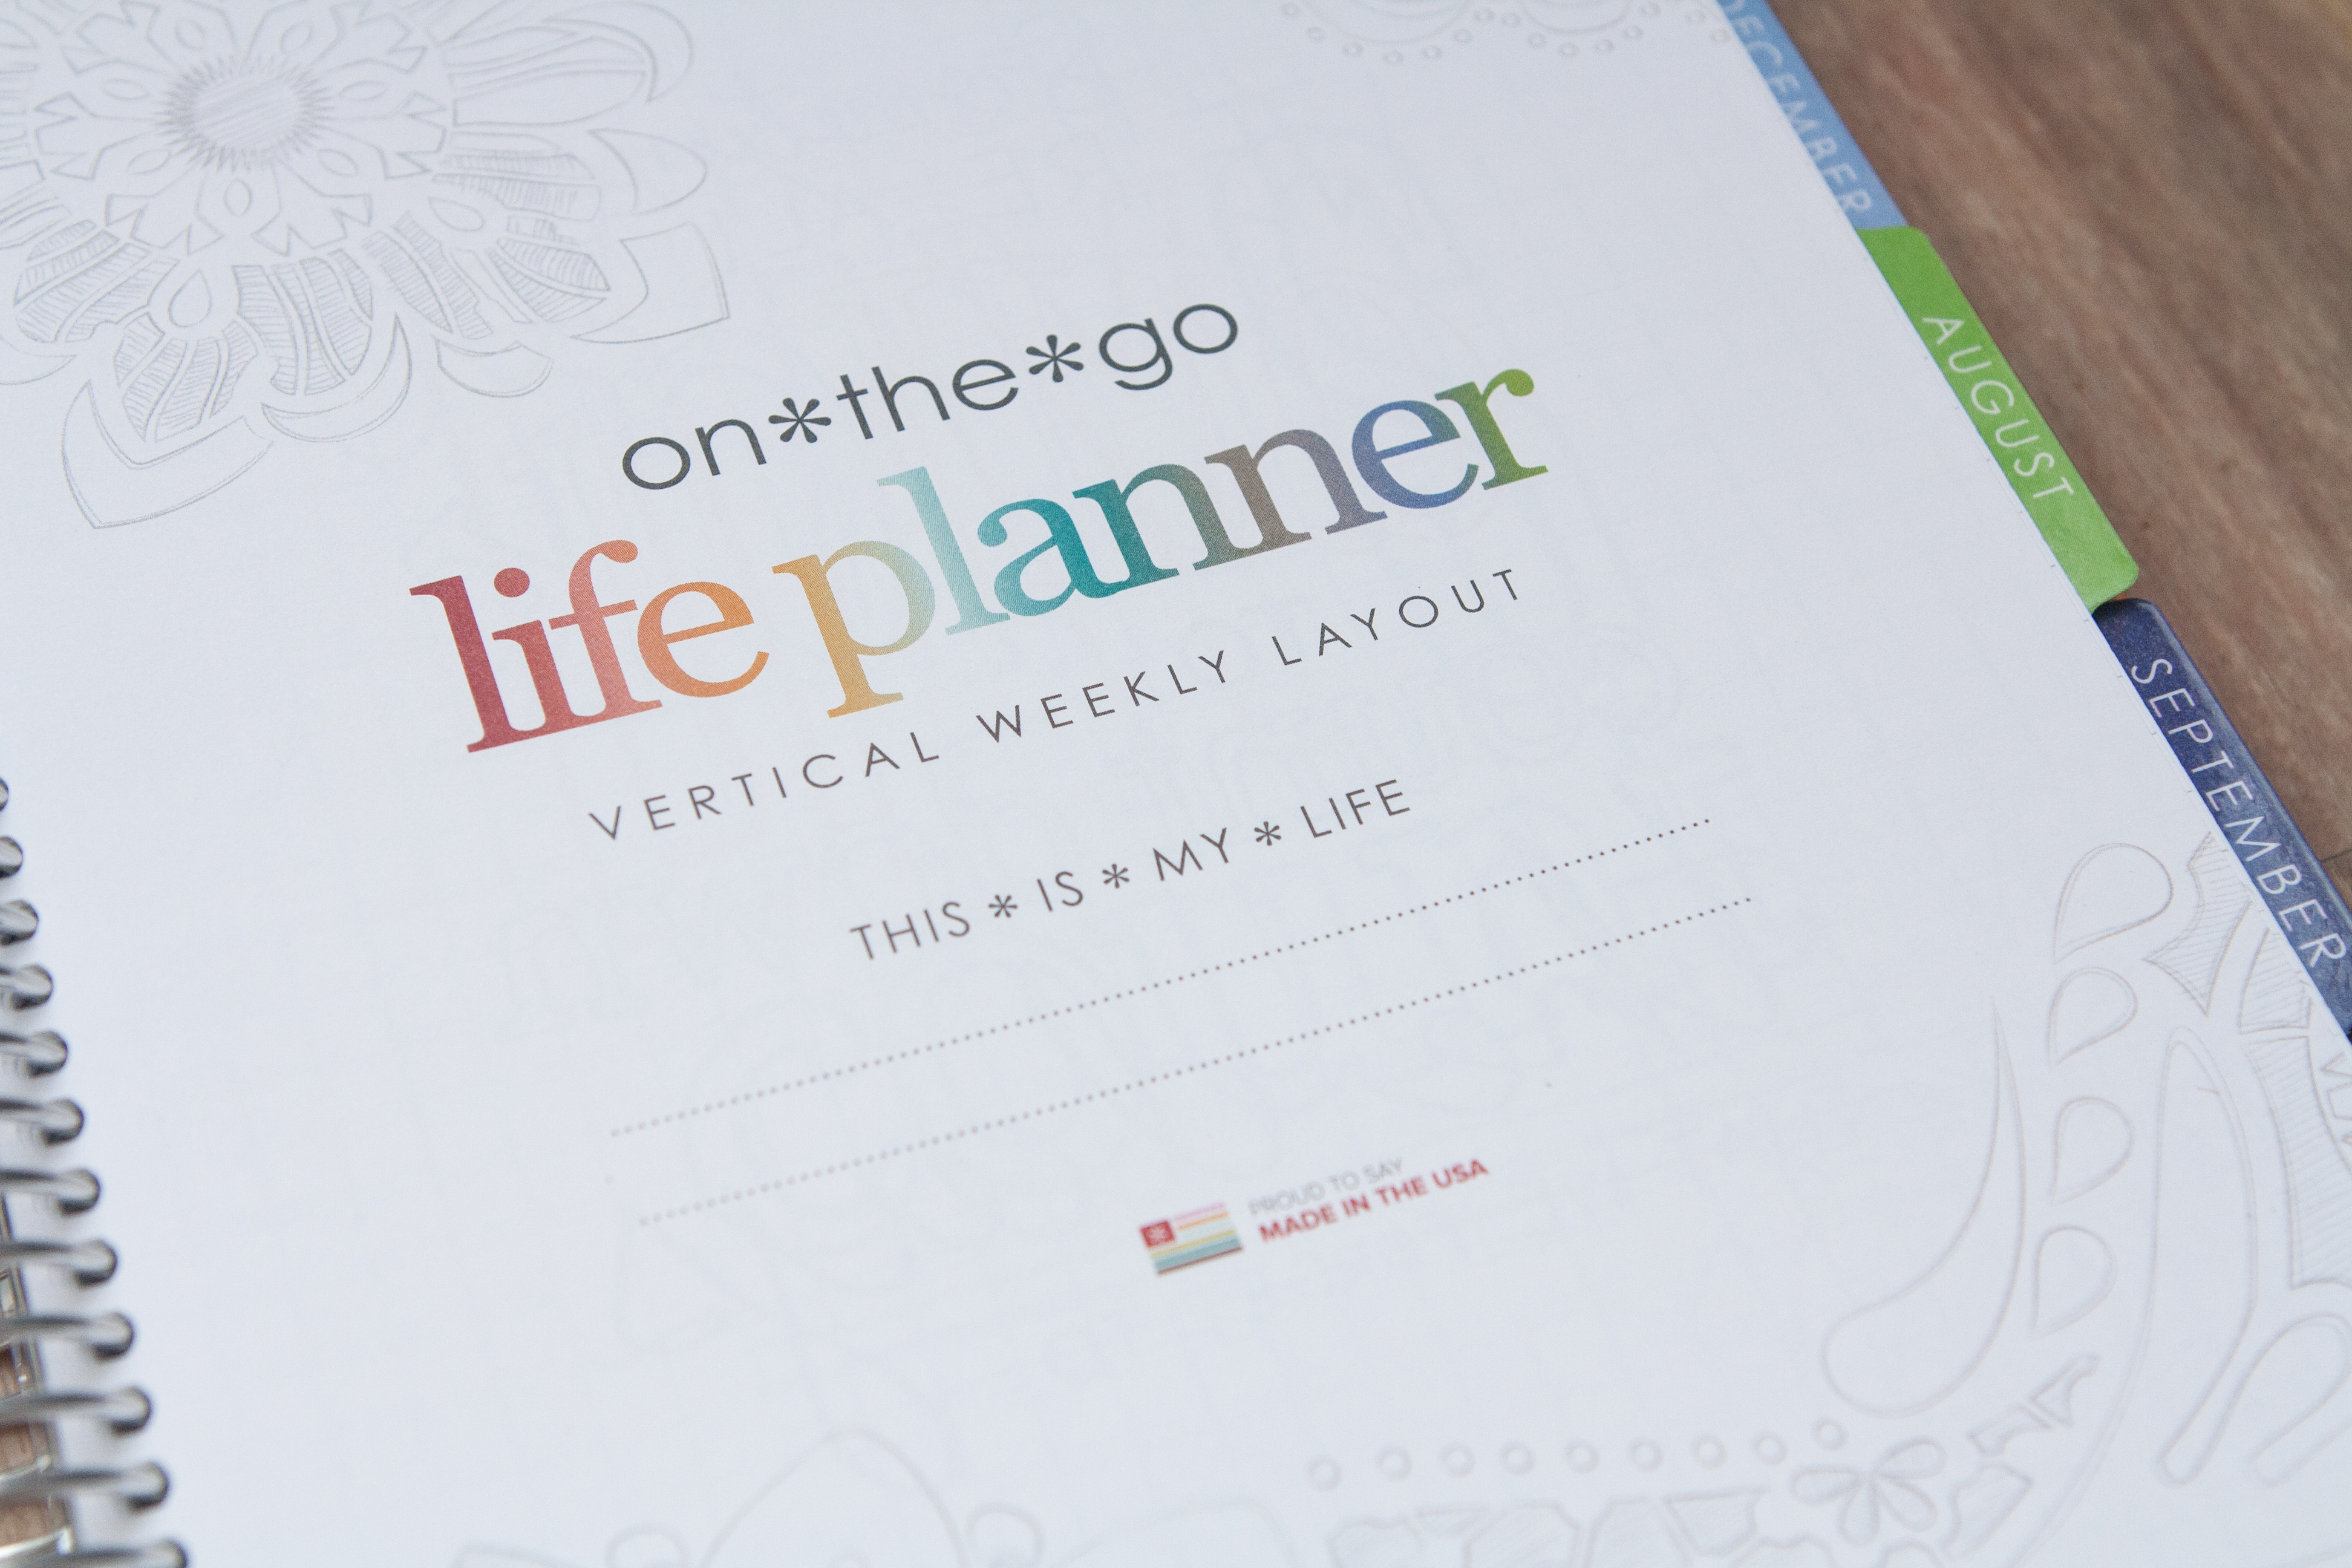
The inside page has a cool velum overlay that I really really like! I don’t know that you can really see it in this picture, but it adds a nice classy touch to the beginning.
 All right, as I mentioned before, my only real complaint about the Life Planner is the lack of a July-July version. You can either get January-December 2016 or pay $5 and add the remaining months of 2015. I find this whole thing weird since they’re launching in June (don’t you think most people would need July-July!?) So the first thing I always do is remove August-December 2016. I could just leave it all in, but when I’m carrying my laptop, several binders, and my planner to most meetings, I’d prefer to not have the extra weight. This picture makes me want to cry though…
One of the new aspects of this year’s planner is the addition of this page spread. It’s supposed to be for adding monthly goals, or family member tasks, or other things. However, since my life during the school year always seems to revolve around special education evaluations, I use it to keep track of my caseload reeval dates! The month of May really needs to happen less than once per year…sigh. Anyone feel my pain?

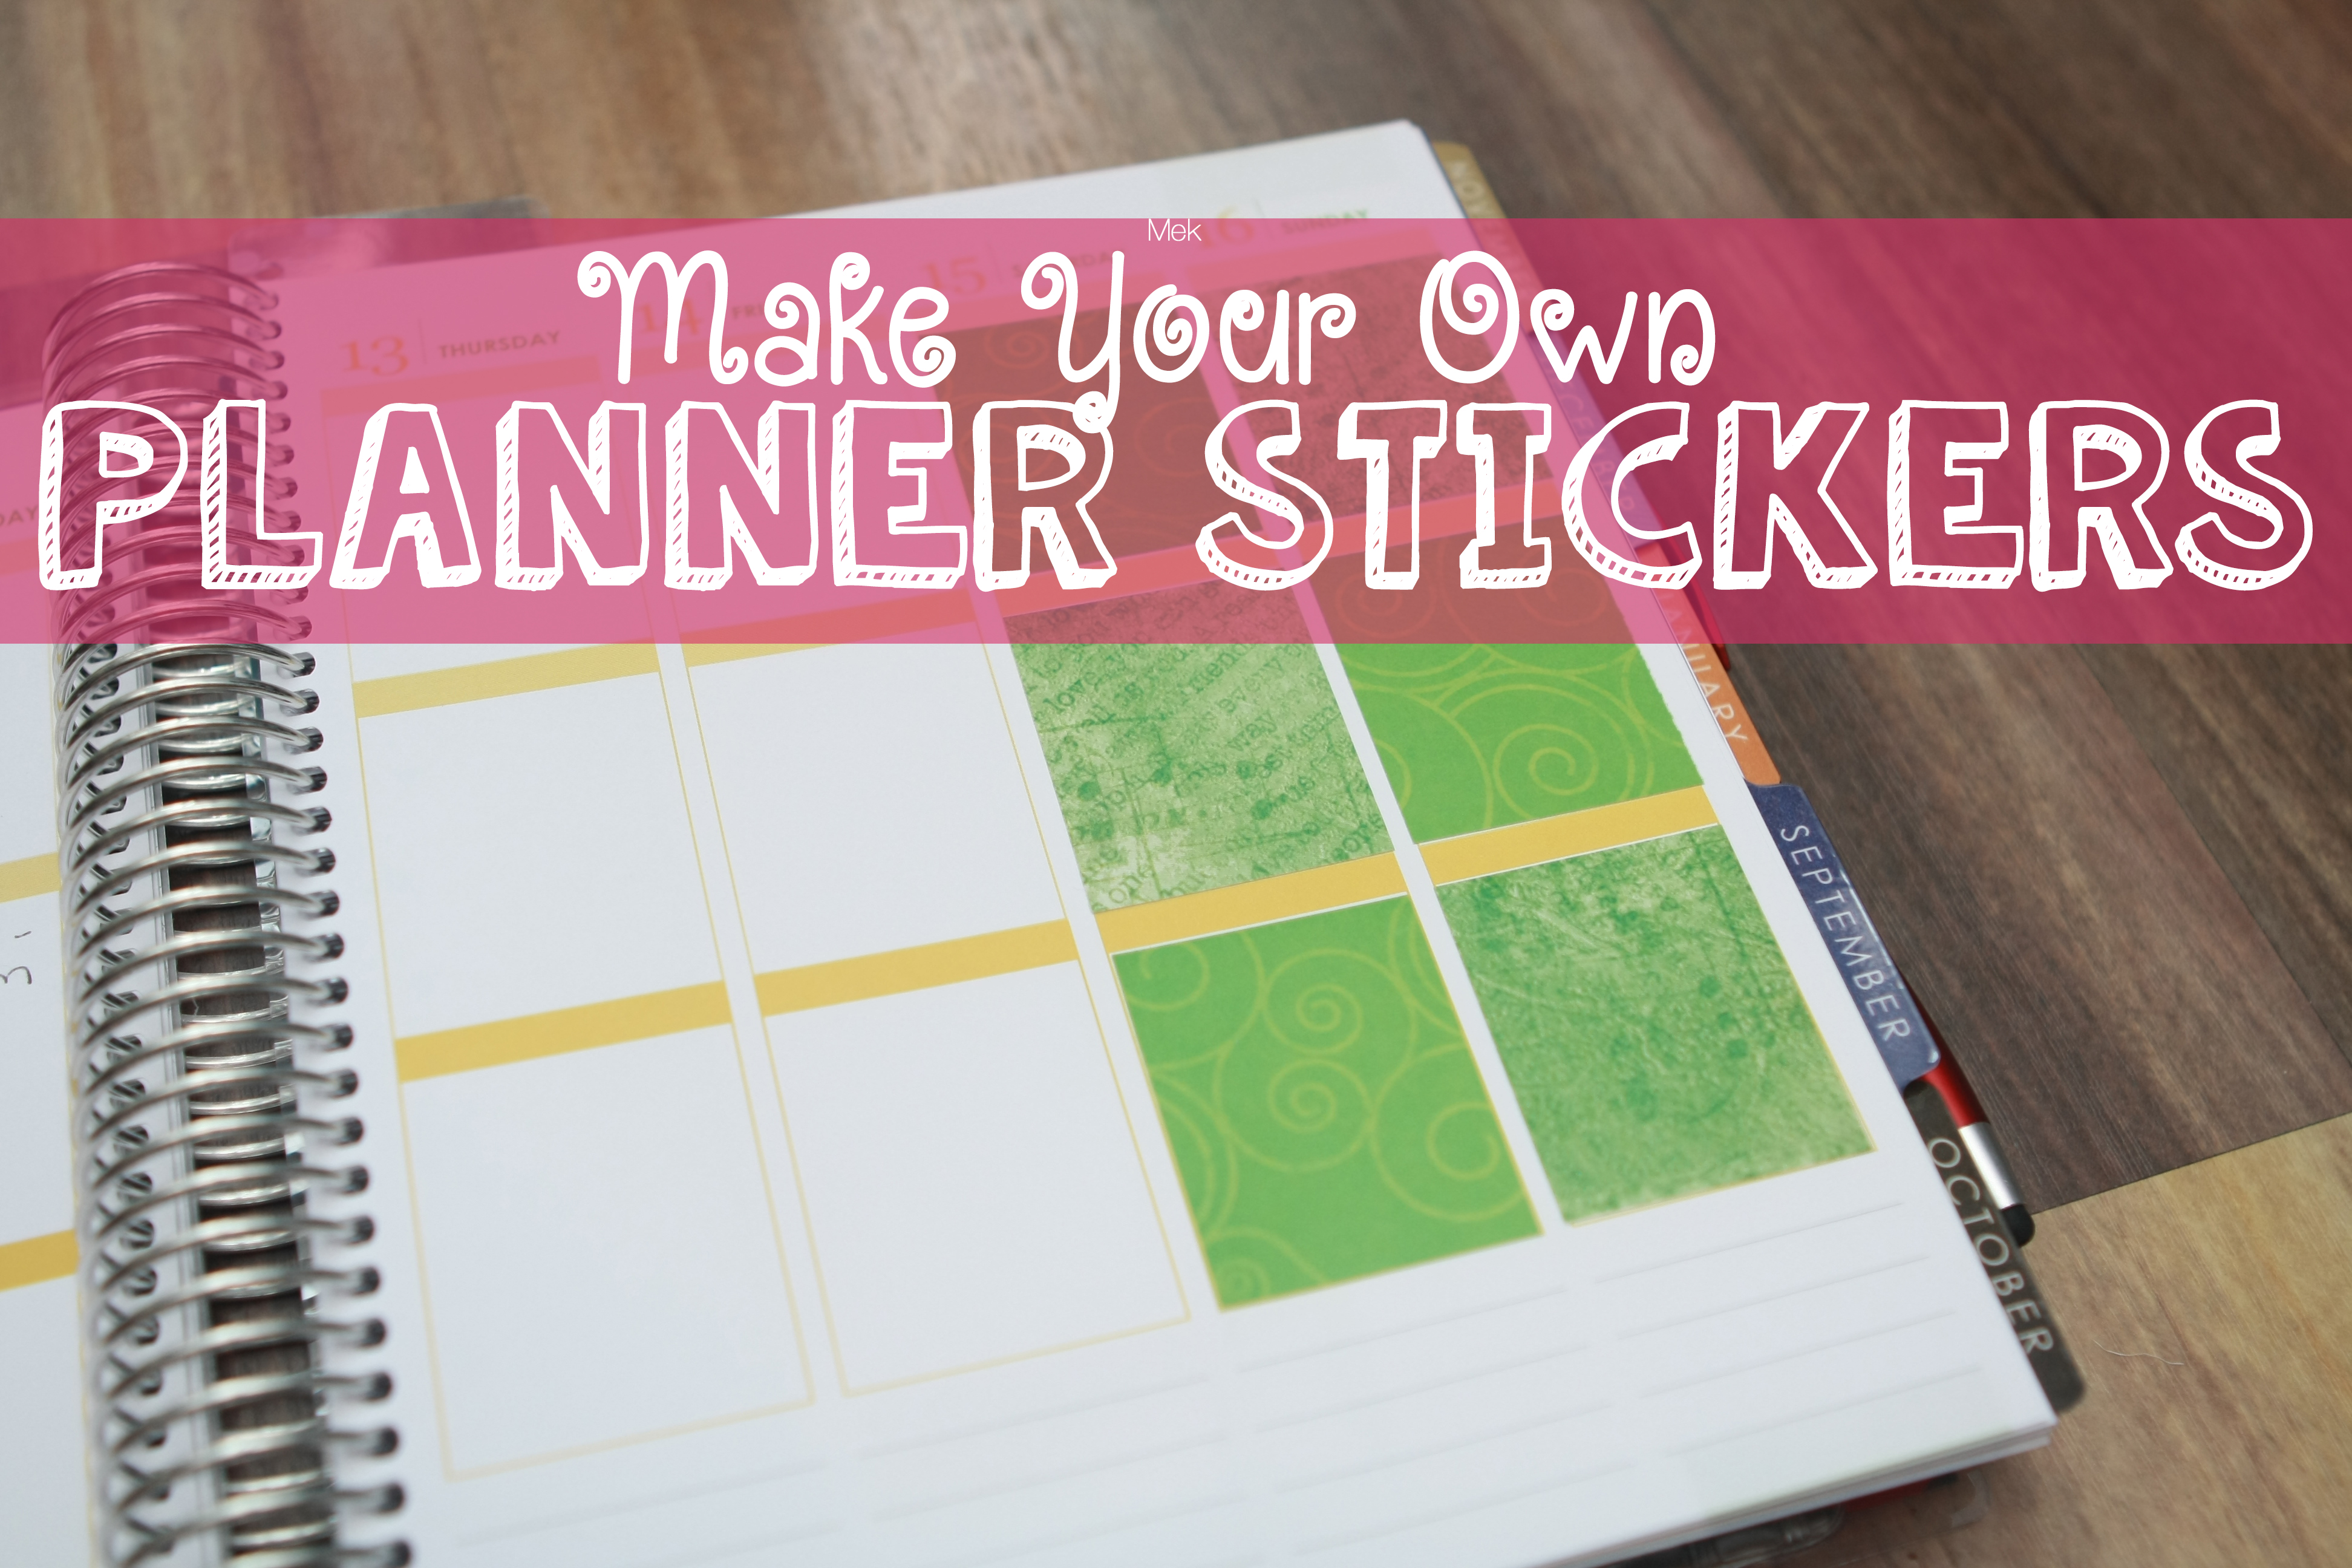
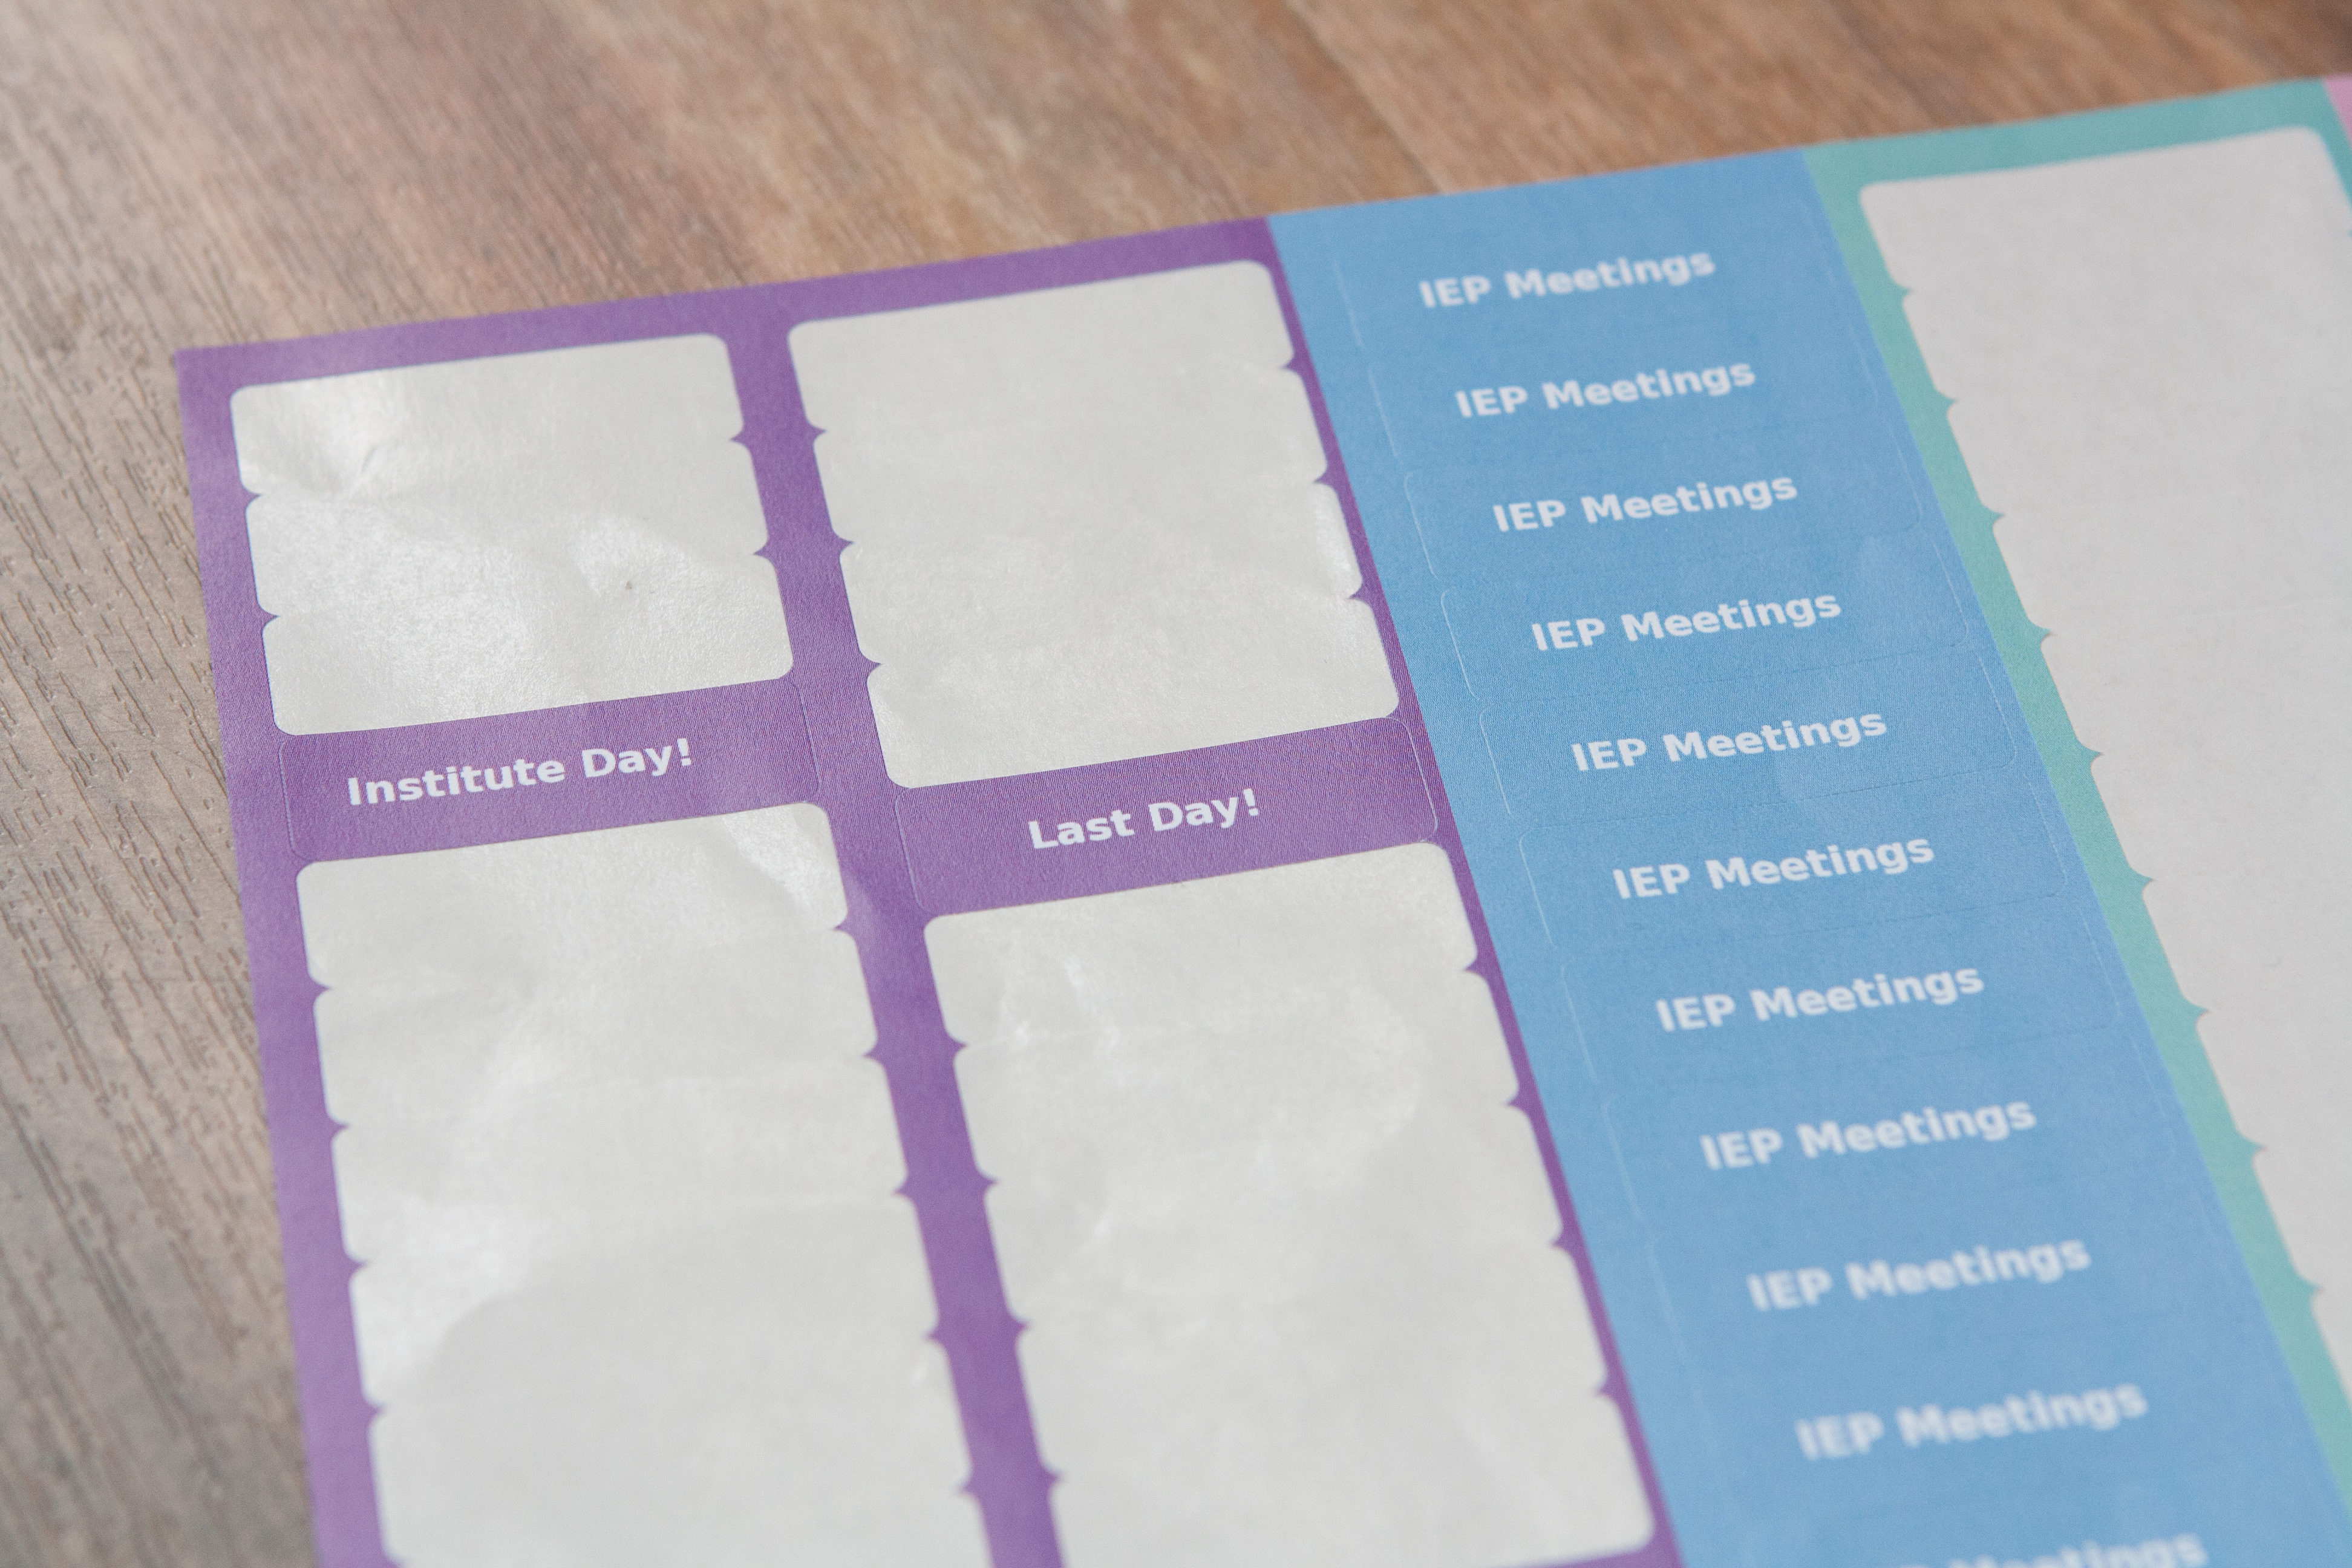
I don’t tend to do a lot with the monthly pages. Generally, I have way too much going on each day to fit into the little box. Instead, I order the custom stickers and use them to give me more of a “month at a glance” view. I love that I can have them say whatever I want.

A bunch of blank ones and random events come with the planners though if you’d rather save a little money and handwrite your own. Here’s a picture of those:

I also get the circle stickers and put my family members’ faces on them for birthdays, or fun pictures for holidays. You can see the ones I used for Halloween and the start of 2nd quarter below!

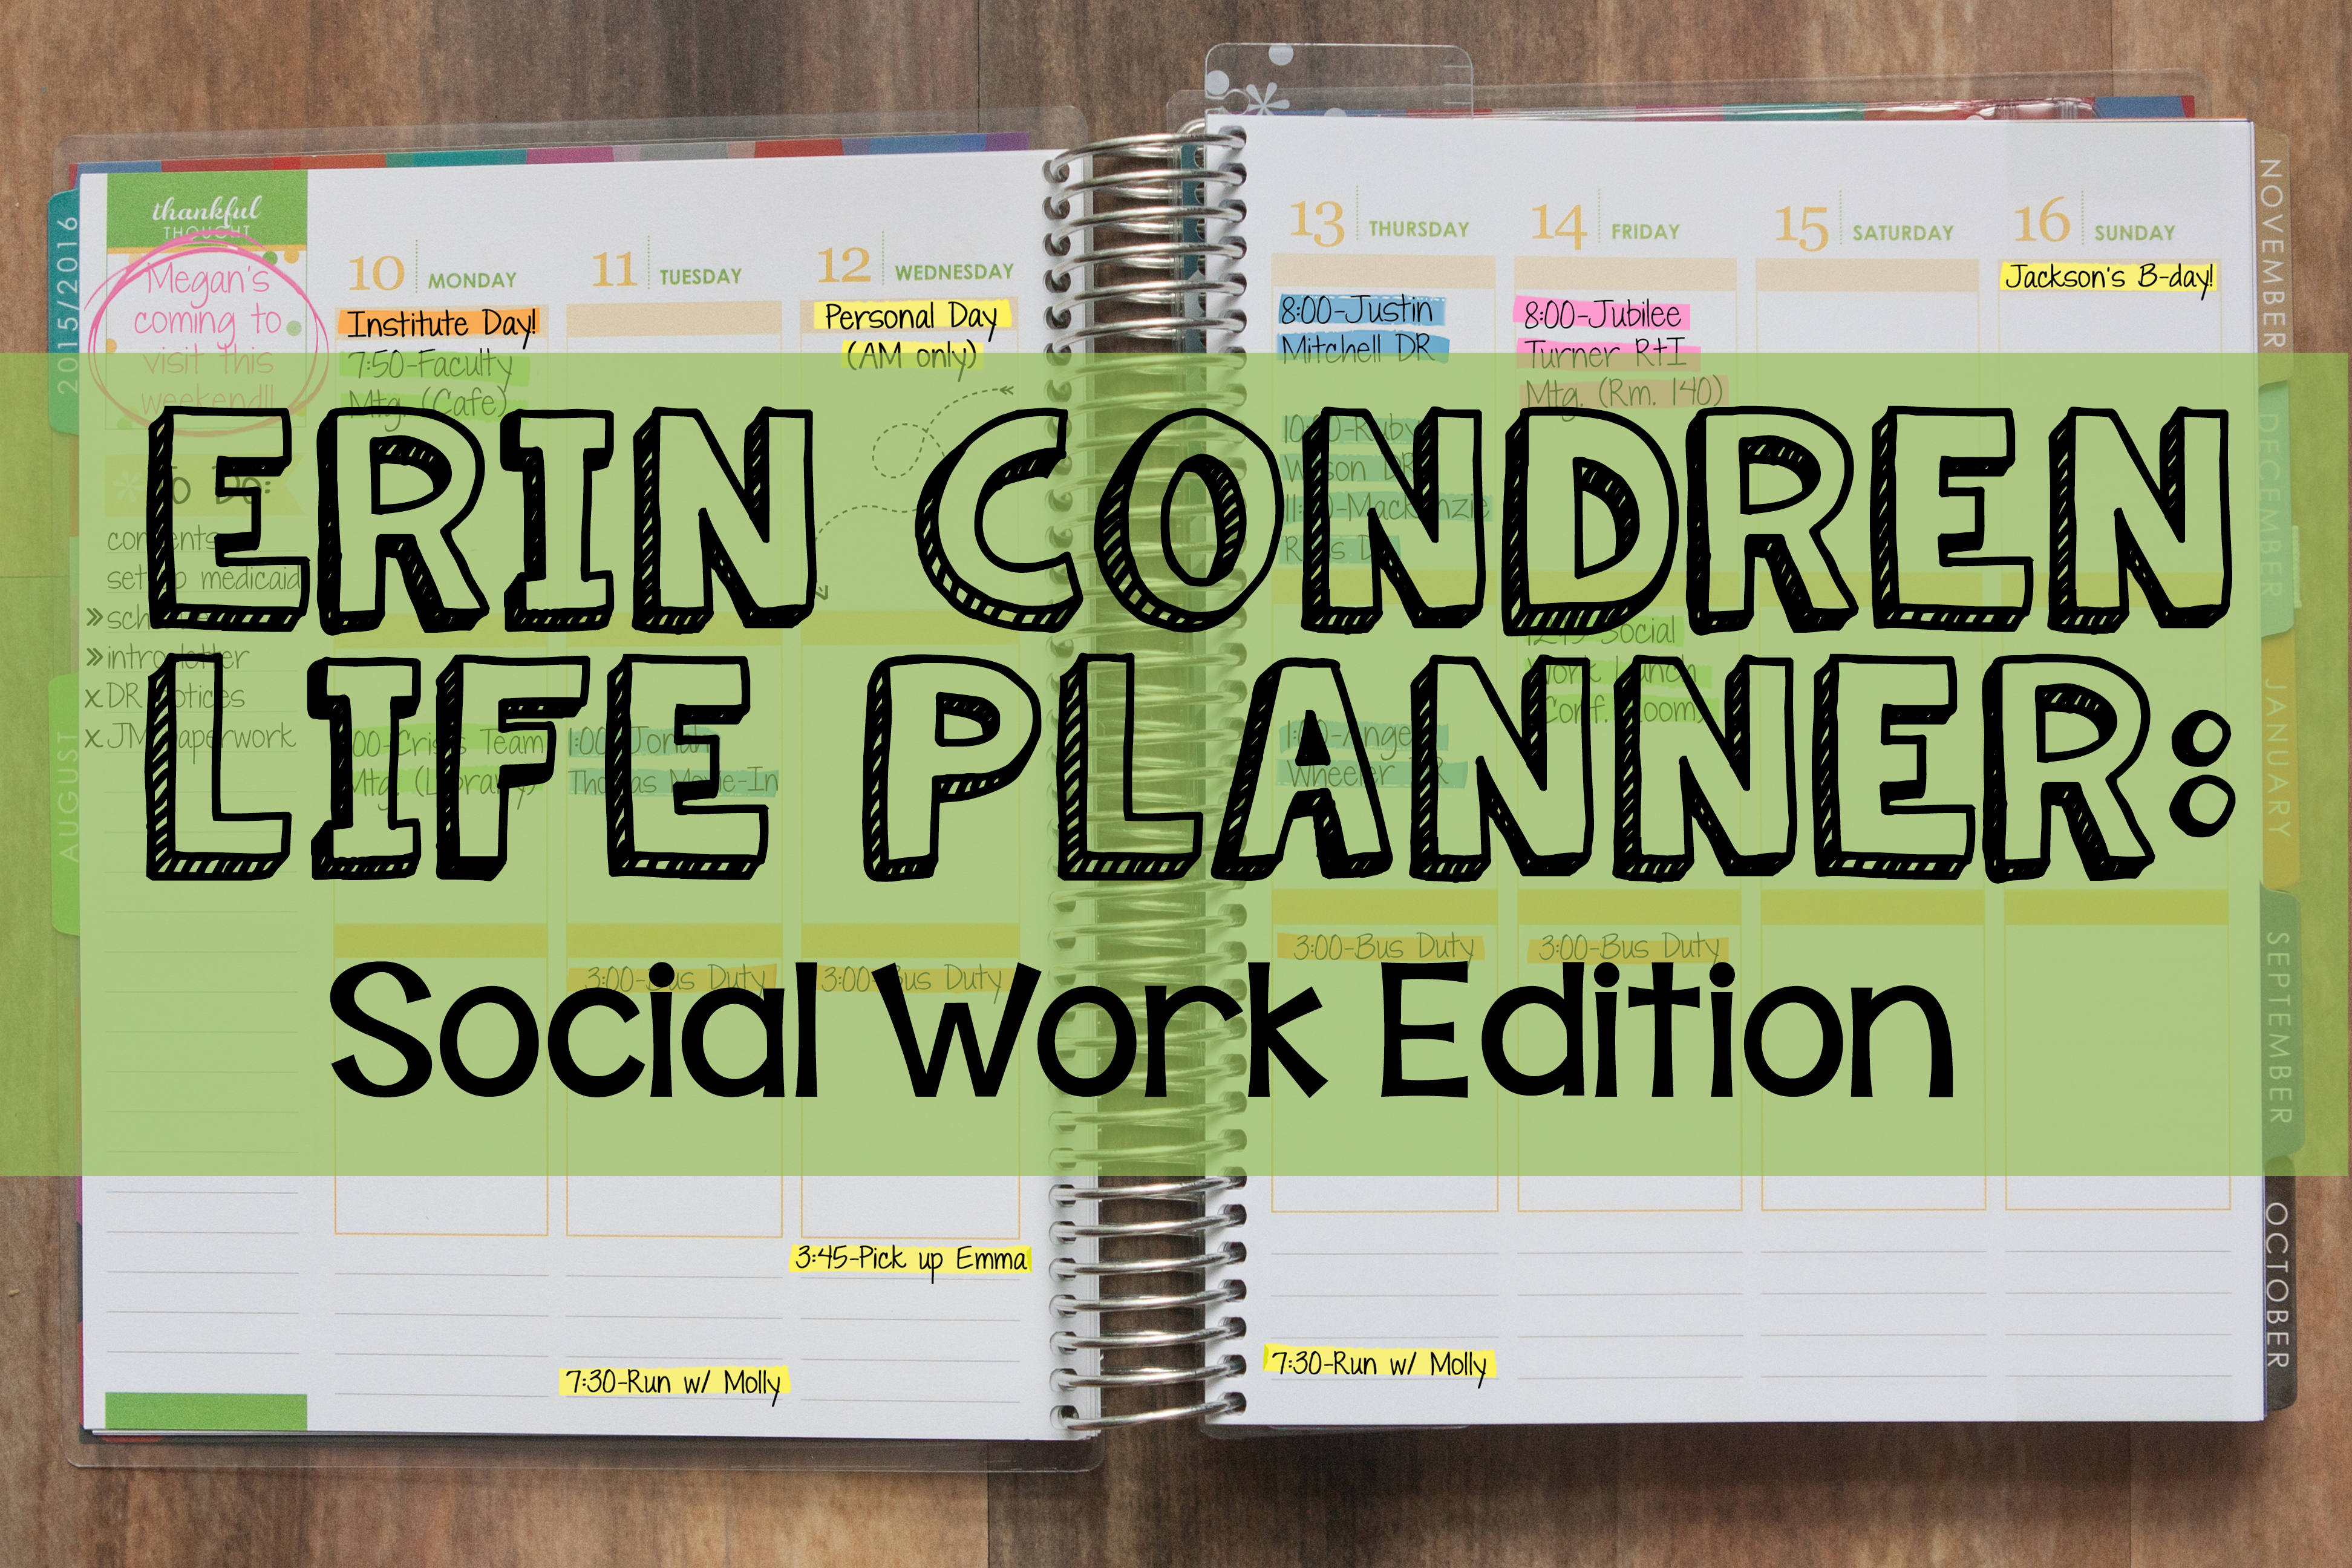
My weekly pages definitely get the most attention from me. I use the lefthand column as a to do list. I find this helps me deal with the mass amounts of stress that happen when I try to remember everything I need to do in a given week! I use a fairly standard (x = complete, -> = move to next week, cross off the item = no longer needed). Then, I use the boxed divisions each day to separate work tasks into morning (about 8-11 am), afternoon (about 12-2), and evening (about 3-7). They used to be labeled morning, afternoon, and evening, but they’re blank this year and I won’t be spending the time writing in titles! I use the space under each day for after-school personal activities. I suppose I could put some evening events in the last box for the day, but I like having them separate from the work tasks in the box. My color coding system is as follows:
pink = RtI meetings
blue = special education meetings
green = other work-related meetings/appointments
orange = school tasks (not meetings) and all day school events
yellow = personal activities

Another new feature this year is an additional sticker book. I like most of the stickers a lot and spaced them out throughout my weeks on weekends or places I don’t anticipating writing anything. A few of the stickers were more “gift tag” type labels, so they’re still in the book. Maybe I’ll save them for Christmas? I wish they’d have all been planner-y, but I’m still glad I got it!


I’m completely in love with my planner again this year. It doesn’t make me wish it were August, but it certainly makes starting the school year a bit easier!

How do you use your Erin Condren Life Planner?


Like this:
Like Loading...


 – Clipboards
 – Cookie Sheet Magnetic Activities


